Building Production-Ready Multi-AZ EC2 Server Architecture AWS Architecture: Part 1 - Infrastructure Foundation
Learn to build a highly available, production-ready AWS architecture with VPC, Security Groups, Launch Templates, and Target Groups. Complete step-by-step guide with cost optimization and security best practices.

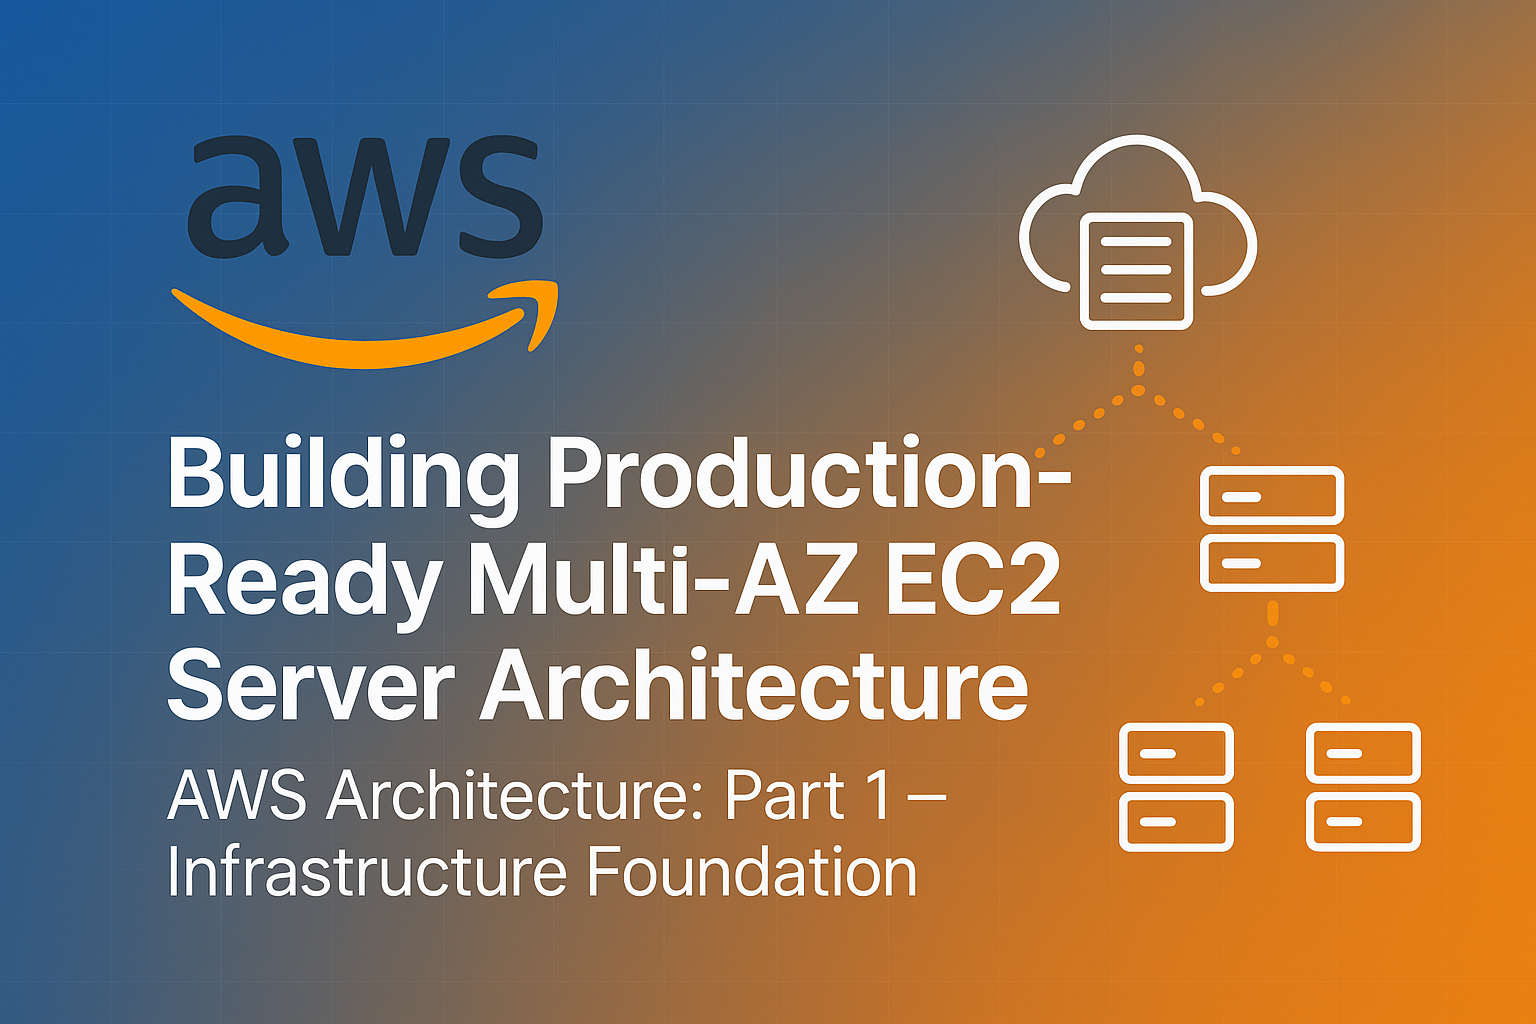
Table of Contents
Share This Post
Building Production-Ready Multi-AZ EC2 Server Architecture: Part 1 - Infrastructure Foundation
Overview
In this comprehensive guide, we’ll build a production-ready, highly available web server architecture on AWS using industry best practices. This first part covers the essential infrastructure foundation: VPC setup, security groups, launch templates, and target groups.
Architecture Overview
Our production architecture will include:
- Multi-AZ VPC with public and private subnets
- Security Groups with least-privilege access
- Launch Templates for consistent instance deployment
- Target Groups for load balancer integration
- High Availability across multiple availability zones
- Cost Optimization using Free Tier eligible resources
Step 1: VPC Setup - Network Foundation
Overview
Create a Virtual Private Cloud (VPC) with public and private subnets across multiple availability zones. This provides the network foundation for your highly available web server architecture.
What You’ll Create
- 1 VPC with CIDR block 10.0.0.0/16
- 2 public subnets (one per availability zone)
- 2 private subnets (one per availability zone)
- 2 NAT gateways (one per availability zone)
- 1 Internet gateway
- Route tables (automatically configured)
Step-by-Step Instructions
1. Navigate to VPC Console
- Open AWS Console
- Search for “VPC” in the services search bar
- Click on VPC service
2. Create VPC Using Wizard
- Click Create VPC button
- Select VPC and more option (this is the wizard that sets up everything)
- Click Next
3. Configure VPC Settings
Fill in the following configuration:
Basic Configuration:
- Name tag auto-generation:
my-app-vpc - IPv4 CIDR block:
10.0.0.0/16(leave default) - IPv6 CIDR block: No IPv6 CIDR block (leave unchecked)
Availability Zones:
- Number of Availability Zones:
2 - AZs: Leave default selection (AWS will choose 2 AZs)
Subnets:
- Number of public subnets:
2 - Number of private subnets:
2 - Customize subnet CIDR blocks: Leave unchecked (use defaults)
NAT gateways:
- NAT gateways:
1 per AZ(this is important for high availability)
VPC endpoints:
- VPC endpoints: None (leave default)
DNS:
- DNS options: Leave all defaults checked
4. Review and Create
- Review all settings
- Click Create VPC
- Wait for provisioning to complete (2-3 minutes)
5. Verify Creation
After creation, you should see:
- VPC ID: Something like
vpc-xxxxxxxxx - State: Available
- IPv4 CIDR: 10.0.0.0/16
What Gets Created Automatically
Subnets
- Public Subnet 1: 10.0.0.0/24 (in first AZ)
- Public Subnet 2: 10.0.1.0/24 (in second AZ)
- Private Subnet 1: 10.0.2.0/24 (in first AZ)
- Private Subnet 2: 10.0.3.0/24 (in second AZ)
Gateways
- Internet Gateway: Attached to VPC for public internet access
- NAT Gateway 1: In first public subnet
- NAT Gateway 2: In second public subnet
Route Tables
- Public Route Table: Routes 0.0.0.0/0 to Internet Gateway
- Private Route Table 1: Routes 0.0.0.0/0 to NAT Gateway 1
- Private Route Table 2: Routes 0.0.0.0/0 to NAT Gateway 2
Important Notes
Cost Consideration
- NAT Gateways cost ~$0.045/hour each (~$65/month for 2)
- For testing, you could use 1 NAT gateway instead of 2
- For production, 2 NAT gateways provide better availability
Security
- Public subnets can reach the internet directly
- Private subnets can reach the internet only through NAT gateways
- Instances in private subnets cannot be accessed directly from the internet
Troubleshooting
Issue: VPC creation fails
Solutions:
- Check your AWS account limits for VPCs
- Ensure you have sufficient permissions
- Try creating in a different region if needed
Issue: Can’t see all resources
Solutions:
- Wait a few minutes for all resources to be created
- Refresh the console page
- Check the correct region is selected
Verification Checklist
- VPC created with name
my-app-vpc - 2 public subnets created
- 2 private subnets created
- 2 NAT gateways created
- 1 Internet gateway attached
- All resources show “Available” status
Step 2: Security Groups - Network Security
Overview
Create security groups that act as virtual firewalls to control traffic flow. You’ll create two security groups: one for the Application Load Balancer and one for the EC2 instances.
What You’ll Create
- ALB Security Group: Allows web traffic from the internet
- EC2 Security Group: Allows traffic only from the ALB and SSH from your IP
Security Group 1: Application Load Balancer Security Group
Purpose
This security group allows the load balancer to receive web traffic from the internet and forward it to your EC2 instances.
Step-by-Step Instructions
Navigate to Security Groups
- Go to EC2 service in AWS Console
- Click Security Groups in the left sidebar
Create Security Group
- Click Create security group button
Basic Details
- Security group name:
my-app-alb-sg - Description:
Allows web traffic to the ALB - VPC: Select
my-app-vpcfrom dropdown
- Security group name:
Inbound Rules
- Click Add rule
- Type: HTTP
- Port range: 80 (auto-filled)
- Source: Anywhere-IPv4 (
0.0.0.0/0) - Description:
Allow HTTP from internet
Optional for Production:
- Click Add rule again
- Type: HTTPS
- Port range: 443
- Source: Anywhere-IPv4 (
0.0.0.0/0) - Description:
Allow HTTPS from internet
Outbound Rules
- Leave default (all traffic allowed)
- This allows the ALB to forward traffic to EC2 instances
Create Security Group
- Click Create security group
Security Group 2: EC2 Instance Security Group
Purpose
This security group ensures that EC2 instances can only receive traffic from the load balancer and allows SSH access from your IP for troubleshooting.
Step-by-Step Instructions
Create Another Security Group
- Click Create security group button again
Basic Details
- Security group name:
my-app-ec2-sg - Description:
Allows traffic from ALB and SSH - VPC: Select
my-app-vpcfrom dropdown
- Security group name:
Inbound Rules
Rule 1: HTTP from ALB
- Click Add rule
- Type: HTTP
- Port range: 80
- Source: Custom
- Start typing
my-app-alb-sgand select it from dropdown - Description:
Allow HTTP from ALB only
Rule 2: SSH from Your IP
- Click Add rule
- Type: SSH
- Port range: 22
- Source: My IP (auto-detects your current IP)
- Description:
Allow SSH from my IP
Outbound Rules
- Leave default (all traffic allowed)
- This allows instances to download updates and communicate with AWS services
Create Security Group
- Click Create security group
Security Group Rules Summary
ALB Security Group (my-app-alb-sg)
Inbound Rules:
- HTTP (80) from 0.0.0.0/0 (Internet)
- HTTPS (443) from 0.0.0.0/0 (Internet) [Optional]

Outbound Rules:
- All traffic to 0.0.0.0/0 (Default)
EC2 Security Group (my-app-ec2-sg)
Inbound Rules:
- HTTP (80) from my-app-alb-sg (ALB only)
- SSH (22) from Your IP (Your computer only)

Outbound Rules:
- All traffic to 0.0.0.0/0 (Default)
Security Best Practices
Why These Rules?
- ALB receives internet traffic: The load balancer needs to accept HTTP/HTTPS from anywhere
- EC2 instances are protected: They only accept traffic from the ALB, not directly from the internet
- SSH access controlled: Only your IP can SSH into instances for troubleshooting
- Principle of least privilege: Each component only has the minimum access it needs
Production Considerations
- HTTPS: Add HTTPS rule to ALB security group for production
- SSH access: Consider using a bastion host instead of direct SSH
- Monitoring: Add CloudWatch rules to monitor security group changes
- WAF: Consider adding AWS WAF for additional protection
Troubleshooting
Issue: Can’t find VPC in dropdown
Solutions:
- Ensure you’re in the correct AWS region
- Wait a few minutes after VPC creation
- Refresh the page
Issue: Can’t select security group as source
Solutions:
- Type the exact security group name
- Ensure both security groups are in the same VPC
- Check that the ALB security group was created first
Issue: My IP not detected correctly
Solutions:
- Check your current public IP at whatismyip.com
- Manually enter your IP in CIDR format (e.g., 203.0.113.1/32)
- Use 0.0.0.0/0 for testing (not recommended for production)
Verification Checklist
- ALB security group created with name
my-app-alb-sg - ALB security group allows HTTP (80) from 0.0.0.0/0
- EC2 security group created with name
my-app-ec2-sg - EC2 security group allows HTTP (80) from ALB security group
- EC2 security group allows SSH (22) from your IP
- Both security groups are in the correct VPC (
my-app-vpc)
Important Notes
- Security groups are stateful (return traffic is automatically allowed)
- You can modify security group rules after creation
- Changes to security group rules take effect immediately
- Security groups can be attached to multiple resources
Step 3: Launch Template - Instance Blueprint
Overview
Create a launch template that serves as a blueprint for your EC2 instances. This template will include the AMI, instance type, security groups, and a user data script that automatically installs and configures Nginx when instances start.
What You’ll Create
- Launch template with Amazon Linux 2023 AMI
- t2.micro instance type (Free Tier eligible)
- User data script for automatic Nginx installation
- Security group attachment
Prerequisites
- EC2 Key Pair created and downloaded
- Security groups created (from Step 2)
Step-by-Step Instructions
1. Navigate to Launch Templates
- Go to EC2 service in AWS Console
- Click Launch Templates in the left sidebar
- Click Create launch template
2. Basic Configuration
Fill in the following details:
Template Details:
- Launch template name:
my-app-template - Template version description:
Initial version with Nginx web server - Auto Scaling guidance: Check this box (recommended)
3. Application and OS Images (AMI)
- Click Quick Start tab
- Select Amazon Linux 2023 AMI
- This is the latest Amazon Linux version
- Free Tier eligible
- Optimized for AWS
4. Instance Type
- Instance type:
t2.micro- Free Tier eligible (750 hours/month for first 12 months)
- 1 vCPU, 1 GB RAM
- Sufficient for basic web server
5. Key Pair
- Key pair (login): Select your existing key pair
- This allows SSH access to instances
- Make sure you have the
.pemfile downloaded
6. Network Settings
- Subnet: Don’t include in launch template
- The Auto Scaling Group will handle subnet selection
- Firewall (security groups): Select existing security group
- Security group: Select
my-app-ec2-sg
7. Storage (Volumes)
- Volume 1 (Root): Leave default settings
- Size: 8 GiB (Free Tier eligible)
- Volume type: gp3
- Encrypted: Unchecked (for simplicity)
8. Advanced Details
- Expand the Advanced details section
- Scroll to the bottom to find User data text box
- Paste the following script:
#!/bin/bash
# Update system packages
yum update -y

# Install Nginx web server
yum install -y nginx

# Start and enable Nginx service
systemctl start nginx
systemctl enable nginx

# Get the instance's private IP address
EC2_PRIVATE_IP=$(curl -s http://169.254.169.254/latest/meta-data/local-ipv4)

# Create a custom homepage showing the instance IP
echo "<h1>Hello from Web Server with IP: $EC2_PRIVATE_IP</h1>" > /usr/share/nginx/html/index.html

# Optional: Add some basic styling
cat >> /usr/share/nginx/html/index.html << 'EOF'
<style>
body {
    font-family: Arial, sans-serif;
    text-align: center;
    margin-top: 100px;
    background-color: #f0f0f0;
}
h1 {
    color: #333;
    background-color: white;
    padding: 20px;
    border-radius: 10px;
    box-shadow: 0 2px 10px rgba(0,0,0,0.1);
    display: inline-block;
}
</style>
EOF
9. Create Launch Template
- Review all settings
- Click Create launch template
- Click View launch templates to confirm creation
What the User Data Script Does
Step-by-Step Breakdown
- System Update:
yum update -yupdates all system packages - Install Nginx:
yum install -y nginxinstalls the Nginx web server - Start Service:
systemctl start nginxstarts the Nginx service immediately - Enable Service:
systemctl enable nginxensures Nginx starts on boot - Get IP Address: Retrieves the instance’s private IP from AWS metadata service
- Create Homepage: Creates a custom HTML page showing the instance IP
- Add Styling: Adds basic CSS styling for better appearance
Why This Approach?
- Automated Setup: No manual configuration needed
- Instance Identification: Each instance shows its unique IP
- Load Balancer Testing: You can see which instance is serving requests
- Production Ready: Nginx is a robust, production-grade web server
Launch Template Configuration Summary
Template Name: my-app-template
AMI: Amazon Linux 2023
Instance Type: t2.micro
Key Pair: [Your Key Pair]
Security Group: my-app-ec2-sg
Storage: 8 GiB gp3 (root volume)
User Data: Nginx installation and configuration script
Troubleshooting
Issue: Can’t find Amazon Linux 2023 AMI
Solutions:
- Ensure you’re in a supported region
- Try refreshing the AMI list
- Use Amazon Linux 2 as alternative if needed
Issue: Key pair not available
Solutions:
- Create a new key pair in EC2 → Key Pairs
- Ensure you’re in the correct region
- Download and save the
.pemfile securely
Issue: Security group not found
Solutions:
- Ensure security groups were created in Step 2
- Check you’re in the correct VPC
- Verify security group name is exactly
my-app-ec2-sg
Issue: User data script not working
Solutions:
- Ensure script starts with
#!/bin/bash - Check for syntax errors in the script
- Verify all commands are valid for Amazon Linux 2023
Testing the Launch Template
Manual Test (Optional)
- Go to EC2 → Instances
- Click Launch instance from template
- Select
my-app-template - Choose a public subnet for testing
- Launch instance and test the web server
Expected Result
- Instance should launch successfully
- Nginx should be running
- Web page should show the instance’s private IP
- Page should be accessible via the instance’s public IP
Verification Checklist
- Launch template created with name
my-app-template - Amazon Linux 2023 AMI selected
- t2.micro instance type configured
- Key pair attached
- Security group
my-app-ec2-sgattached - User data script added
- Launch template shows “Available” status
Important Notes
- Launch templates are versioned (you can create new versions)
- Changes to launch templates don’t affect running instances
- User data scripts run only on first boot
- The script uses AWS metadata service to get instance information
- Nginx will be accessible on port 80 (HTTP)
Step 4: Target Group - Load Balancer Integration
Overview
Create a target group that defines where the Application Load Balancer will route traffic. The target group will contain your EC2 instances and perform health checks to ensure they’re running properly.
What You’ll Create
- Target group for EC2 instances
- Health check configuration
- Load balancer routing destination
Step-by-Step Instructions
1. Navigate to Target Groups
- Go to EC2 service in AWS Console
- Click Target Groups in the left sidebar
- Click Create target group
2. Choose Target Type
- Choose a target type: Instances
- Click Next
3. Basic Configuration
Fill in the following details:
Target Group Details:
- Target group name:
my-app-tg - Protocol: HTTP
- Port: 80
- VPC: Select
my-app-vpcfrom dropdown - Protocol version: HTTP1
4. Health Checks Configuration
Configure health check settings:
Health Check Settings:
- Health check protocol: HTTP
- Health check path:
/ - Health check port: Traffic port
- Healthy threshold: 5 (default)
- Unhealthy threshold: 2 (default)
- Timeout: 5 seconds (default)
- Interval: 30 seconds (default)
- Success codes: 200 (default)
Advanced Health Check Settings (Optional):
- Health check grace period: 300 seconds (5 minutes)
- Deregistration delay: 300 seconds (5 minutes)
5. Register Targets
Important: Skip this step for now
- Click Next without registering any targets
- The Auto Scaling Group will automatically register instances later
6. Review and Create
- Review all settings
- Click Create target group
Target Group Configuration Summary
Target Group Name: my-app-tg
Target Type: Instances
Protocol: HTTP
Port: 80
VPC: my-app-vpc
Health Check Protocol: HTTP
Health Check Path: /
Healthy Threshold: 5
Unhealthy Threshold: 2
Timeout: 5 seconds
Interval: 30 seconds
Success Codes: 200
Health Check Details
How Health Checks Work
- Health Check Path: The load balancer sends HTTP requests to
/on each instance - Success Response: Instance must return HTTP 200 status code
- Health Check Interval: Checks every 30 seconds
- Healthy Threshold: Instance needs 5 consecutive successful checks to be healthy
- Unhealthy Threshold: Instance becomes unhealthy after 2 consecutive failed checks
Why These Settings?
- Path
/: Matches the Nginx default page we created in the user data script - 30-second interval: Balances between responsiveness and resource usage
- 5 healthy threshold: Prevents flapping (rapid healthy/unhealthy changes)
- 2 unhealthy threshold: Quick detection of failed instances
Target Group States
Instance States
- Healthy: Instance is responding to health checks
- Unhealthy: Instance is not responding to health checks
- Initial: Instance is being checked for the first time
- Draining: Instance is being removed from service
What Happens When Instances Are Unhealthy?
- Load balancer stops sending traffic to unhealthy instances
- Auto Scaling Group can replace unhealthy instances
- Health checks continue to monitor the instance
Troubleshooting
Issue: Can’t find VPC in dropdown
Solutions:
- Ensure you’re in the correct AWS region
- Wait a few minutes after VPC creation
- Refresh the page
Issue: Health check path not working
Solutions:
- Ensure the path exists on your instances
- Check that Nginx is running and serving content
- Verify security groups allow HTTP traffic
- Test the path manually on an instance
Issue: Target group creation fails
Solutions:
- Check your AWS account limits
- Ensure you have sufficient permissions
- Try a different target group name
Advanced Configuration Options
Sticky Sessions (Session Affinity)
- Purpose: Route requests from the same client to the same instance
- Use case: Applications that maintain session state
- Configuration: Can be enabled later if needed
Load Balancing Algorithm
- Round Robin: Default, distributes requests evenly
- Least Outstanding Requests: Routes to instance with fewest pending requests
- Configuration: Can be changed after creation
Deregistration Delay
- Purpose: Time to wait before removing instance from service
- Default: 300 seconds
- Use case: Allows existing connections to complete
Verification Checklist
- Target group created with name
my-app-tg - Target type set to Instances
- Protocol set to HTTP on port 80
- VPC set to
my-app-vpc - Health check configured for HTTP on path
/ - No targets registered yet (will be done by Auto Scaling Group)
- Target group shows “Available” status
Important Notes
- Target groups can be used by multiple load balancers
- Health checks are performed from the load balancer’s perspective
- Instances must be in the same VPC as the target group
- Target groups support both EC2 instances and IP addresses
- Health check settings can be modified after creation
Cost Considerations
- Target groups themselves are free
- Health checks generate minimal traffic
- No additional charges for target group configuration
Production Best Practices
Security Considerations
- Network Segmentation: Use private subnets for application instances
- Least Privilege: Security groups with minimal required access
- Encryption: Enable encryption for sensitive data
- Monitoring: Implement CloudWatch monitoring and alerting
Cost Optimization
- Free Tier Usage: Leverage t2.micro instances and Free Tier limits
- NAT Gateway Optimization: Consider single NAT gateway for testing
- Resource Tagging: Implement consistent tagging strategy
- Monitoring: Set up billing alerts and cost monitoring
High Availability
- Multi-AZ Deployment: Distribute resources across availability zones
- Health Checks: Implement comprehensive health monitoring
- Auto Scaling: Prepare for automatic scaling capabilities
- Backup Strategy: Plan for data backup and recovery
Next Steps
In the next part of this series, we’ll cover:
- Application Load Balancer Setup
- Auto Scaling Group Configuration
- Verification and Testing
- Production Deployment
Conclusion
You’ve successfully set up the foundational infrastructure for a production-ready AWS architecture:
✅ VPC with Multi-AZ subnets for network isolation and high availability ✅ Security Groups with least-privilege access controls ✅ Launch Template for consistent instance deployment ✅ Target Group for load balancer integration
This foundation provides the security, scalability, and reliability needed for production workloads. The architecture follows AWS Well-Architected Framework principles and industry best practices.
Stay tuned for Part 2 where we’ll complete the architecture with load balancers, auto scaling, and production deployment strategies. Here is the Part 2, where we’ll complete the architecture with load balancers, auto scaling, and production deployment strategies!